
Ubuntu 20.04为Nginx配置密码访问web页面
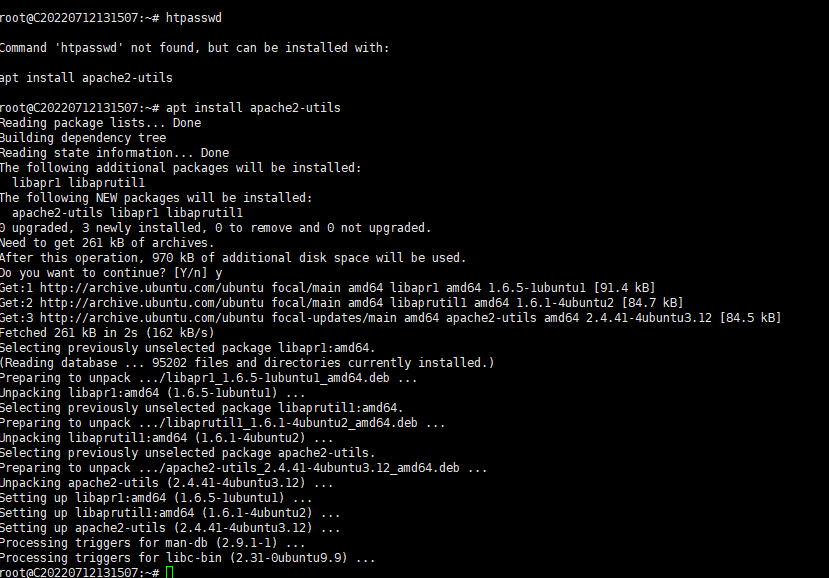
##apache2-utils 安装apache2-utils apt install apache2-utils
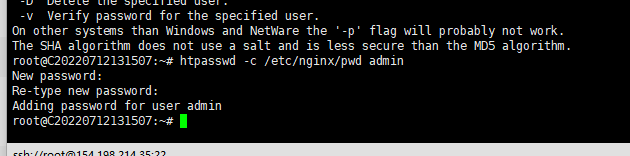
使用htpasswd -c /etc/nginx/pwd admin来创建一个名为admin的用户名
输入两次密码来确认
##Nginx 修改配置文件 加入字段 auth_basic "wdnmd"; #提示信息 auth_basic_user_file /etc/nginx/pwd; #密码文件的路径
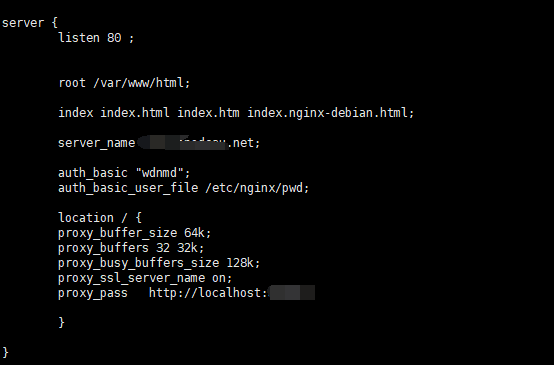
然后重启/重载nginx(随意) systemctl restart nginx systemctl reload nginx
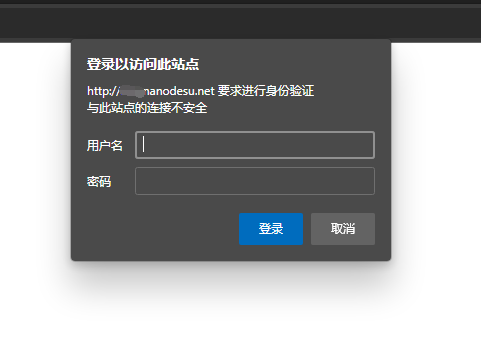
##效果图
##参数说明
root@C20220712131507:~# htpasswd
Usage:
	htpasswd [-cimBdpsDv] [-C cost] passwordfile username
	htpasswd -b[cmBdpsDv] [-C cost] passwordfile username password

	htpasswd -n[imBdps] [-C cost] username
	htpasswd -nb[mBdps] [-C cost] username password
 -c  Create a new file.
 -n  Dont update file; display results on stdout.
 -b  Use the password from the command line rather than prompting for it.
 -i  Read password from stdin without verification (for script usage).
 -m  Force MD5 encryption of the password (default).
 -B  Force bcrypt encryption of the password (very secure).
 -C  Set the computing time used for the bcrypt algorithm
     (higher is more secure but slower, default: 5, valid: 4 to 17).
 -d  Force CRYPT encryption of the password (8 chars max, insecure).
 -s  Force SHA encryption of the password (insecure).
 -p  Do not encrypt the password (plaintext, insecure).
 -D  Delete the specified user.
 -v  Verify password for the specified user.
评论